Cross-Border Check-in Process
For flights to the US (from Canada) and back (from US to Canada), the TSA (American Transportation Security Administration) and CBSA (Canada Border Services Agency) have some specific APIS info requirements. The following details how this validation manifests itself in the amelia check-in process.
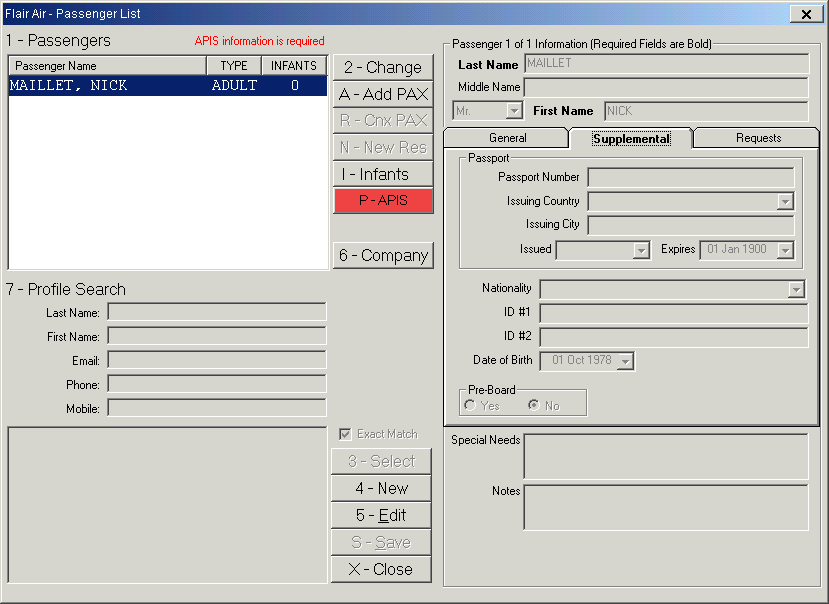
When the reservation is being booked, the P-APIS button on the Passenger List will appear in red until the required APIS info is provided.
The I-APIS button on the Reservation screen is also shown in red if that info is missing for any of the reservation’s passengers.

On the Passenger Check In form, APIS-related fields are displayed at the end (to the right) of the passenger grid. Note that these also display in red if any of the info is missing.

1. Pax travelling from Canada to US
When checking in a pax like this, the process will flow as below:
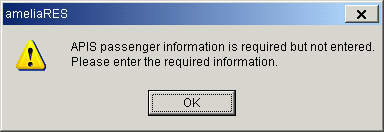
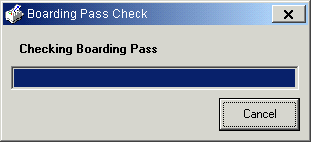
- After clicking the J-Check In button, this message is shown:
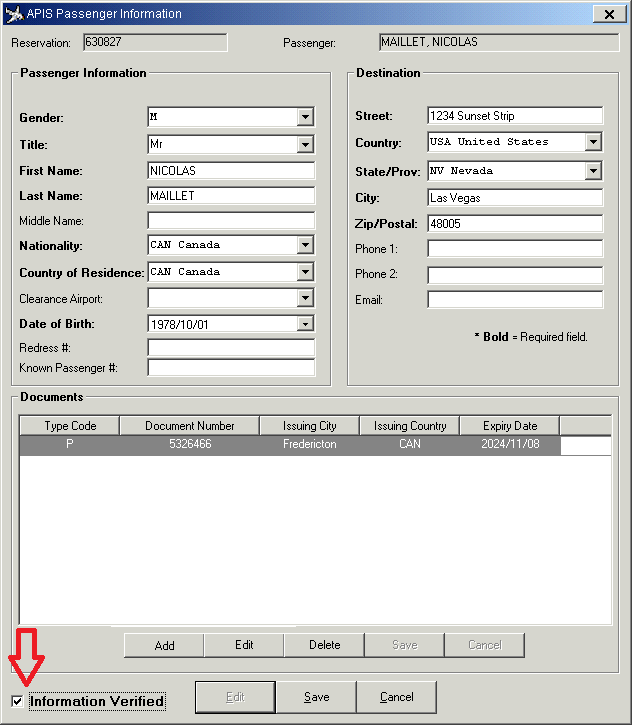
- To provide this, double-click directly on the APIS fields of the pax record in question (OR double-click the Res# to open the reservation, OR double-click the name (Passenger column) to see the Passenger List), and access the APIS Passenger Information.
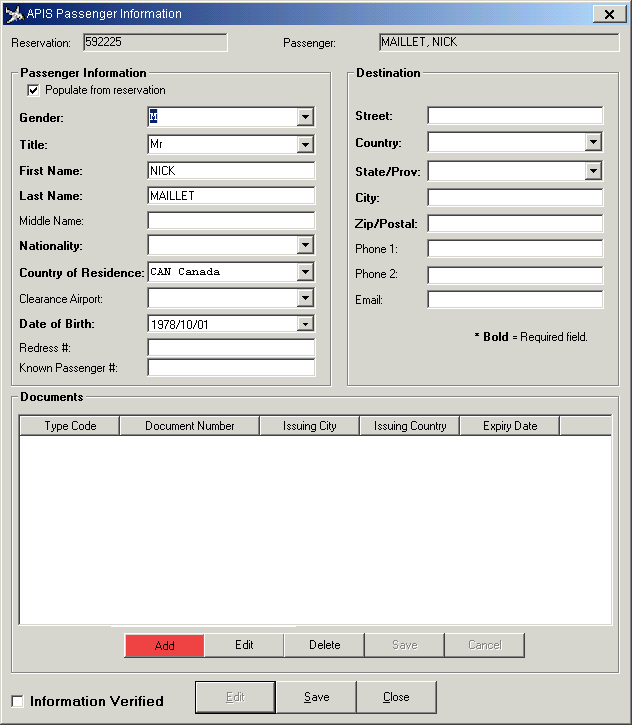
- Once all the required data is provided and saved, you will see it when you return to Check In.
- Proceed to check-in the pax, and the data is validated (by the TSA).
- If successful, the APIS Results column will show ‘CLEARED’. (It can be helpful to force a refresh of the Check In screen using the F5-Refresh button before checking this.)
- If any pax are ‘NOT CLEARED’, un-check the pax (using the K-Not Checked In button) if necessary, then access their APIS info (using any of the methods described in step 2 above.).
- On the APIS Passenger Information form, click Edit, confirm the data and select the Information Verified checkbox, then click Save and Close.
- Check-in (J-Check In) the pax in question again.
- If any pax are ‘NOT CLEARED’, un-check the pax (using the K-Not Checked In button) if necessary, then access their APIS info (using any of the methods described in step 2 above.).
- Repeat the steps above to check-in/clear any other passengers.

2. Pax returning to Canada from US
When a pax is flying from the US to Canada, the process will flow like this:
- After clicking the J-Check In button, this message is shown:
- To provide this, double-click directly on the APIS fields of the pax record in question (OR double-click the Res# to open the reservation, OR double-click the name (Passenger column) to see the Passenger List), and access the APIS Passenger Information.
- Once all the required data is provided and saved, you will see it when you return to Check In.
- Proceed to check-in the pax, and the data is validated (by the CBSA).
If successful, you will see this form:
The Passenger Protect Check allows you to adjust pax details if required, and update the associated passenger record (using the Update Passenger Details checkbox).
NOTE: If attempting to check-in 24+ hours ahead of the flight’s departure (exception - not normal operations), this will fail and display this message:- Once check-in is complete, the APIS Results column will show ‘CLEARED’. (It can be helpful to force a refresh of the Check In screen using the F5-Refresh button before checking this.)
- Repeat the steps above to check-in/clear any other passengers.